Instructions:
1. Upload a Document and Click the Pen. Drag and drop the document into a folder, or use the upload button on the right.
-png.png?width=600&name=Untitled%20design%20(56)-png.png)
2. Apply Template or Add Fields. If you would like to fill in fields on the document before it goes out for signature, add those first by selecting from the dropdown. If it doesn’t exist, you can create it using “Add a PreFilled Detail.” -png.png?width=600&name=Copy%20of%20Untitled%20(6)-png.png)
3. Add Signers Click + to add a signer and put in their name and email address. Then click on the document to get an options bar to add signature fields. You can also have them fill in fields using the “Custom Fields” option. 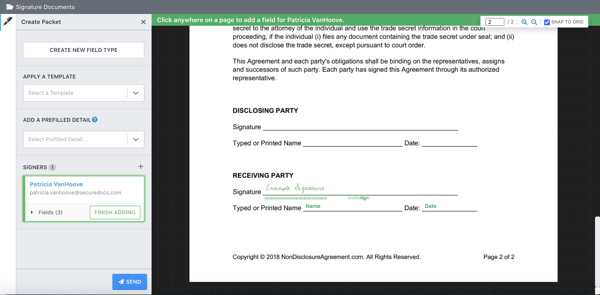
4. Click Send and Select Email Options Packet. Name is the name of the document, add a custom message to your signers, or choose someone to also receive a copy of the final signed document. 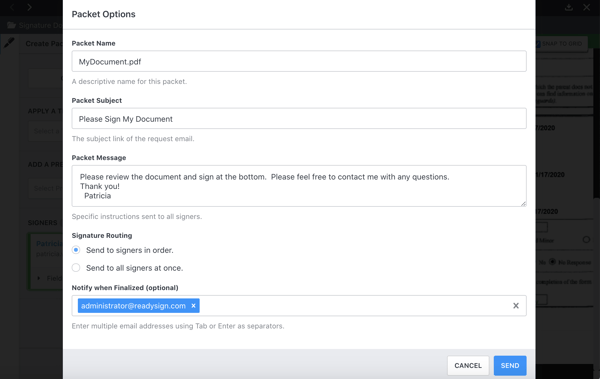
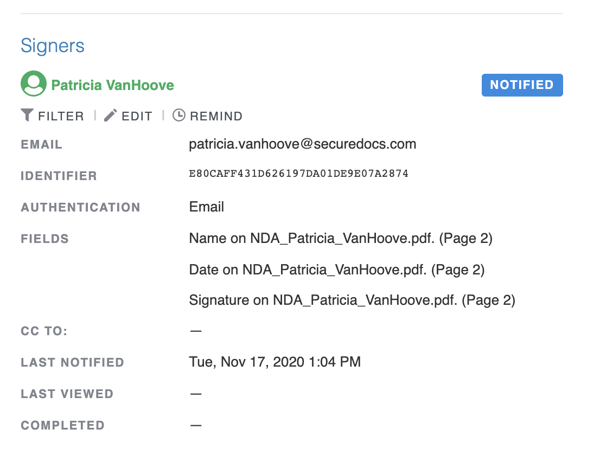
5. Check Status. The pen icon will turn blue when out for signature and clicking on the pen will take you to an Audit Trail that provides status updates. The Sign Tab at the top also provides a list of documents out for signature. 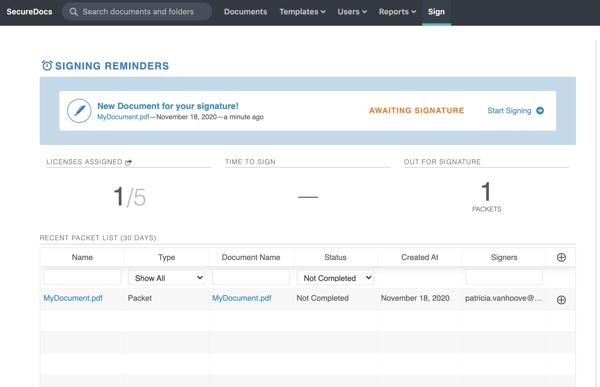
6. Need to change or remind a signer? Click the pen icon, then Edit next to the signer and put in the new signer’s information. To remind a signer, click Remind. However, the system will automatically send reminders at 3 and 7 days, then weekly thereafter.