Instructions:
1. Click the Sign Tab. On the Sign tab, select your template from the ‘Create New Document’ list.
-png.png?width=600&name=Copy%20of%20Untitled%20(8)-png.png)
2. Fill out Fields and Signers. These are your defaults that were set up when the template was created. If you need to add a signer or more information, you can do that in the next step.
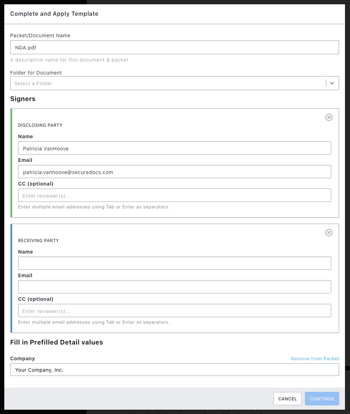
3. Need changes? If you need to add, change, or remove signers or additional pre-filled details, do that here. When you are finished click Send.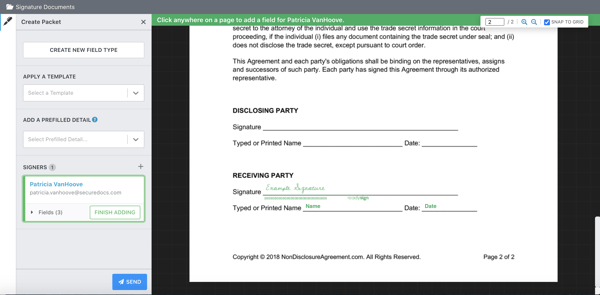 4. Select Email Options. Packet Name is the name of the document, and you can add a custom message to your signers, or choose someone to also receive a copy of the final signed document.
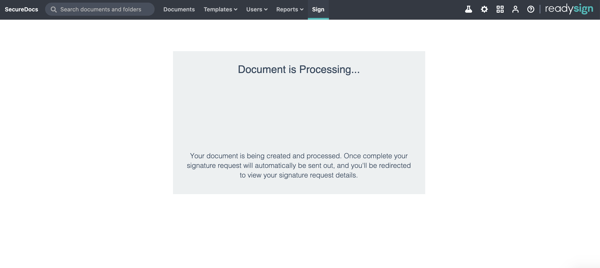
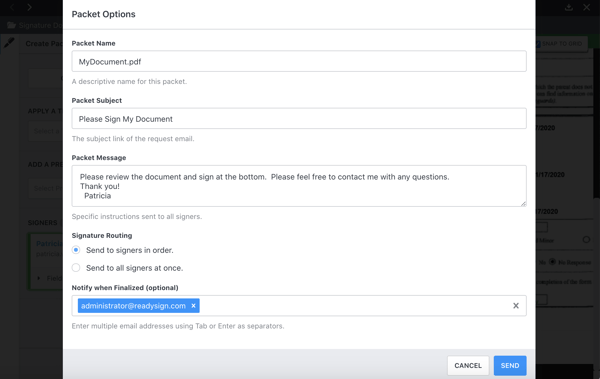 5. ReadySign will create and send your document. It takes a moment to process and create your new document and it will appear in the folder that you selected during Step 2.
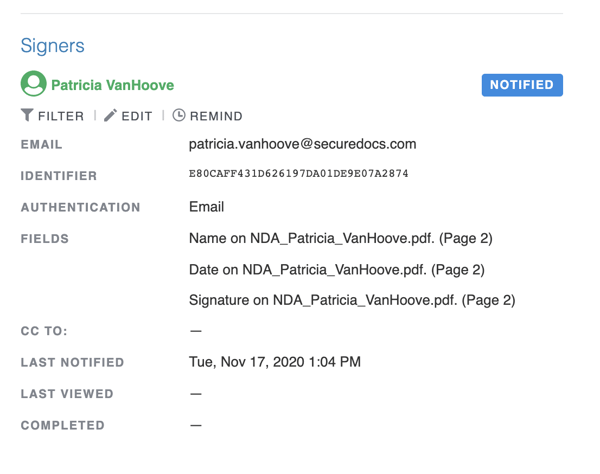
 6. Need to change or remind a signer? Click the Pen icon, then Edit next to the signer and put in the new signer’s information. To remind a signer, click Remind. However, the system will automatically send reminders at 3 and 7 days, then weekly thereafter.