Instructional Video:
Instructional Guide:
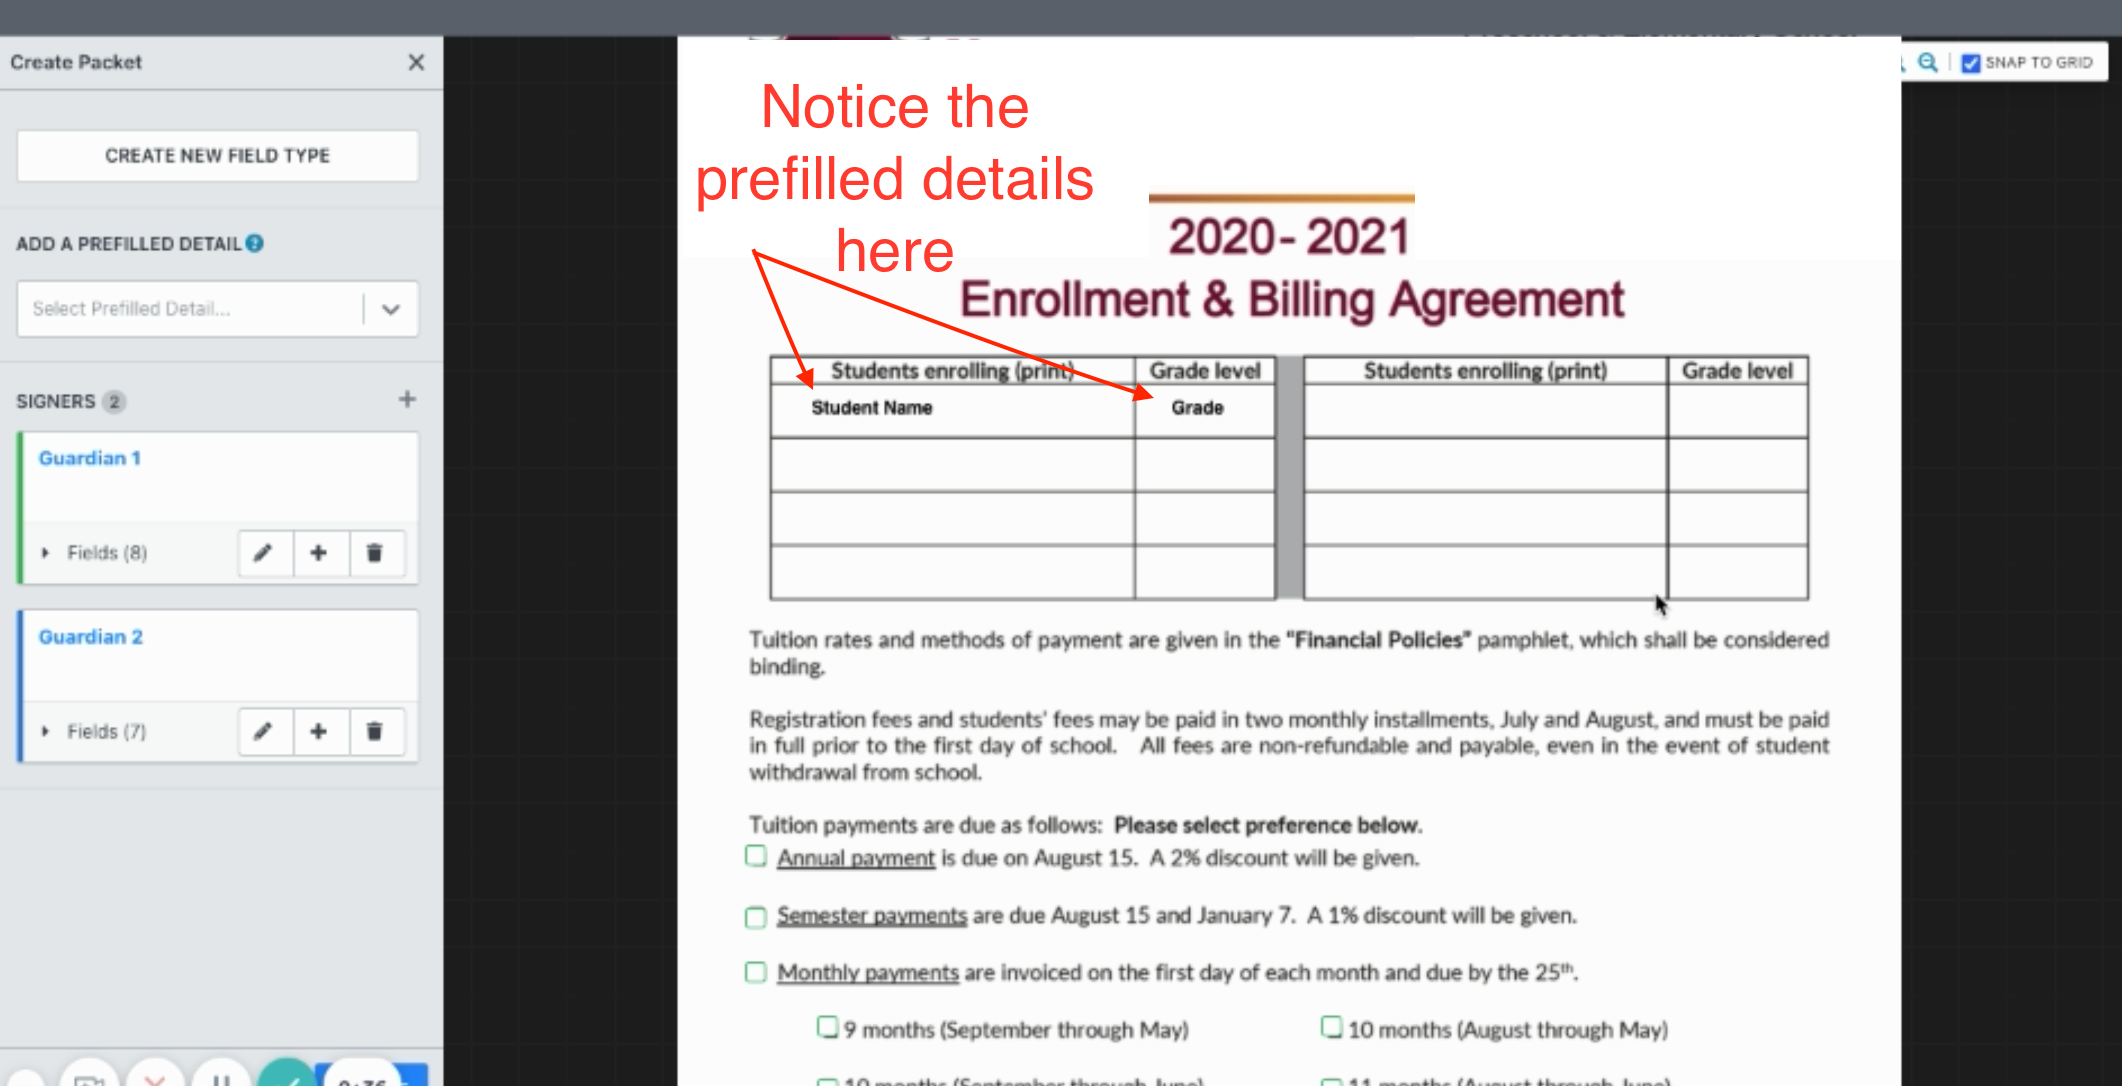
Step 1: Prepare the Template. Create a template for the document you are going to want to send out in bulk. Ensure that this template has prefilled details saved on it.
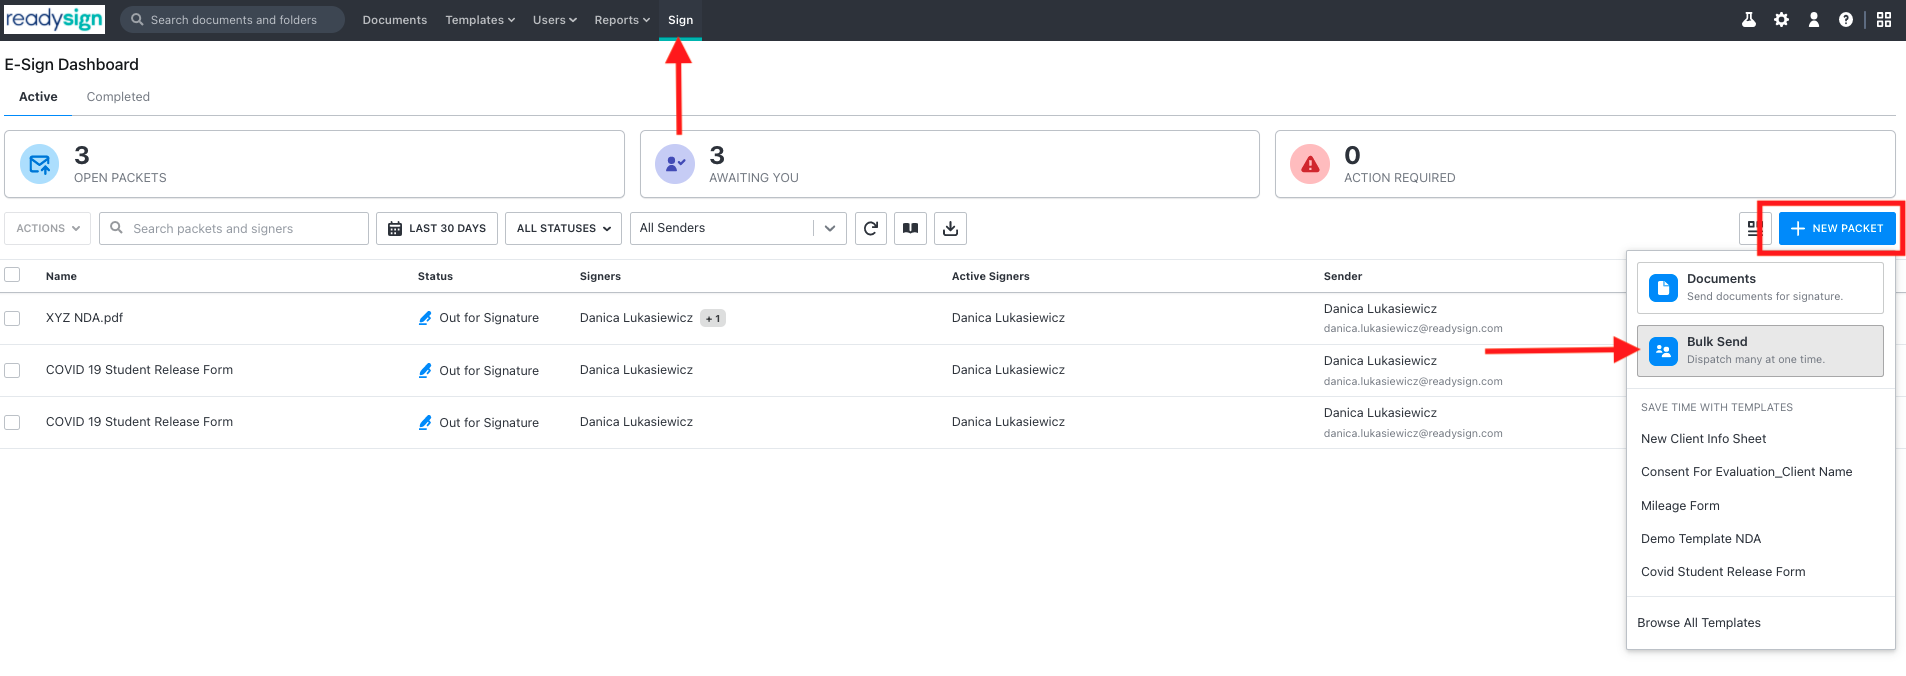
Step 2: Select Bulk Send Packets. Navigate to the Sign tab. On the right hand side, select +New Packet, and choose Bulk Send.
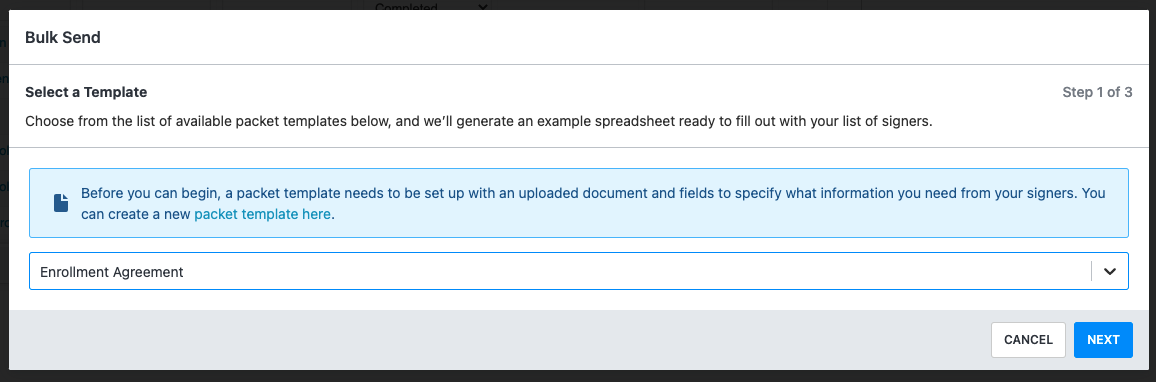
Step 3: Select Template. A pop up will appear asking you to Select a Template. Select the appropriate Template from the drop down menu and click Next.
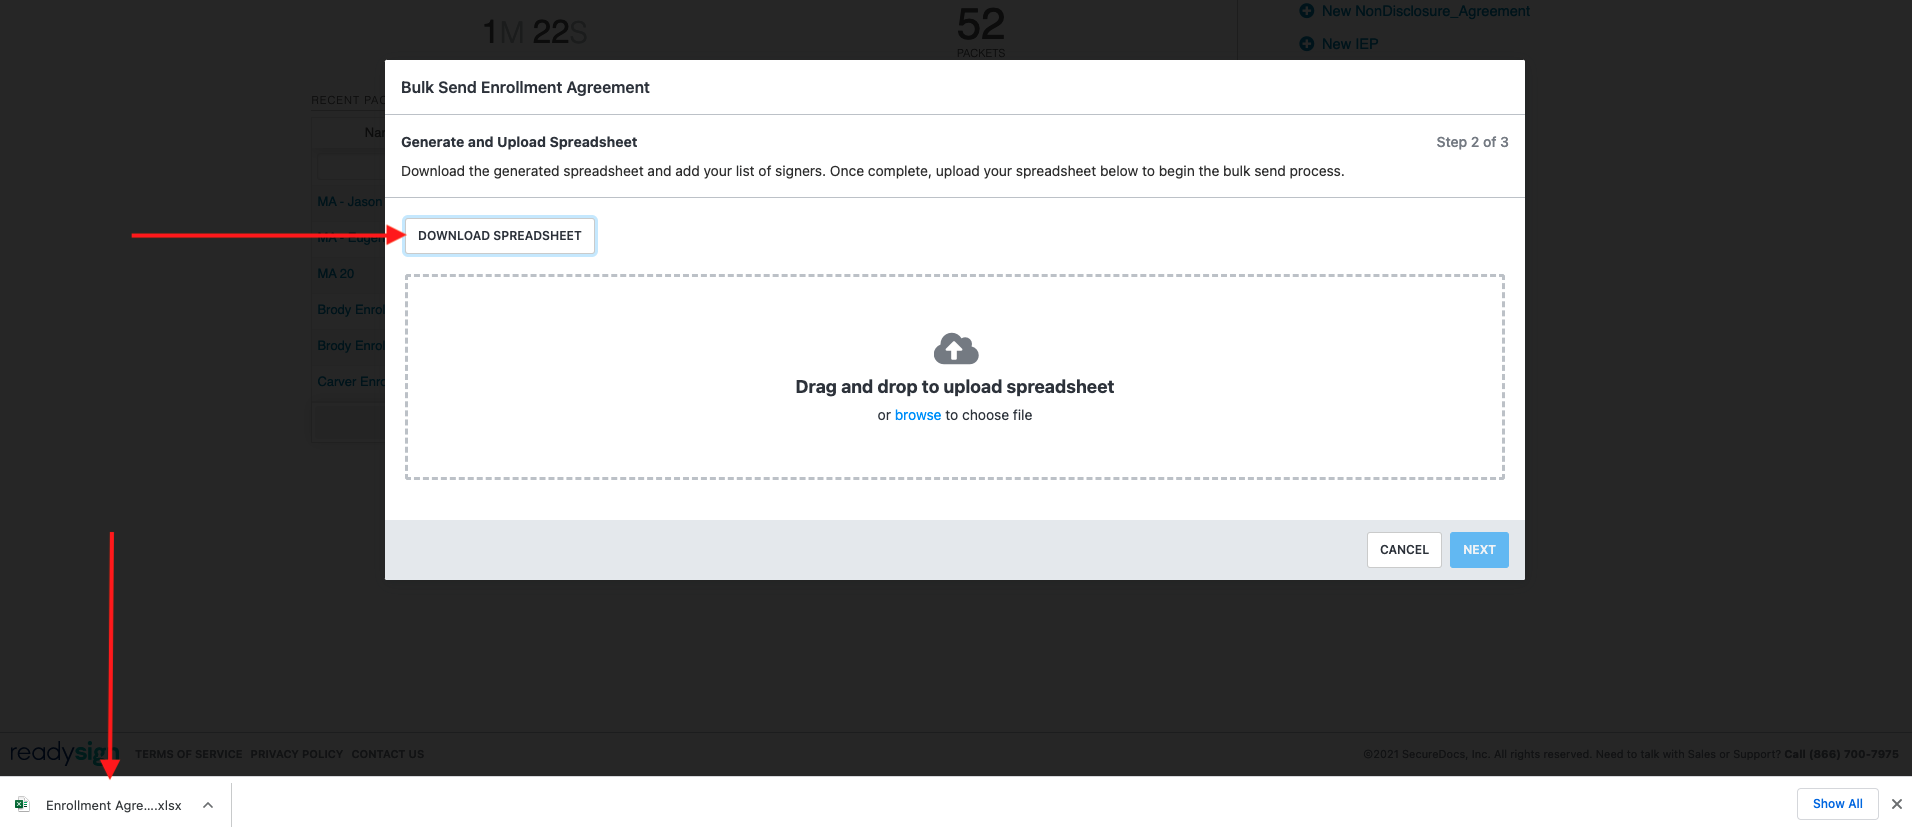
Step 4: Download Spreadsheet. Select the Download Spreadsheet button. Once it has finished downloaded, open the spreadsheet.
Step 5: Fill out Spreadsheet. Once the spreadsheet has opened, you will see columns that have the information required from the template filled in.
Fill out the spreadsheet with your signers information. In this example, you will see the same email plus a number as an example but yours should all be unique emails and information.
Each row is a unique packet that will be sent to the email that you put in. For example, row 5, the Smiths, will have no idea that row 4 or row 6, the Conners and the Davises, received this document to sign.

Step 6: Save the spreadsheet and upload it. Save the spreadsheet locally, in a place you will be able to find it later.
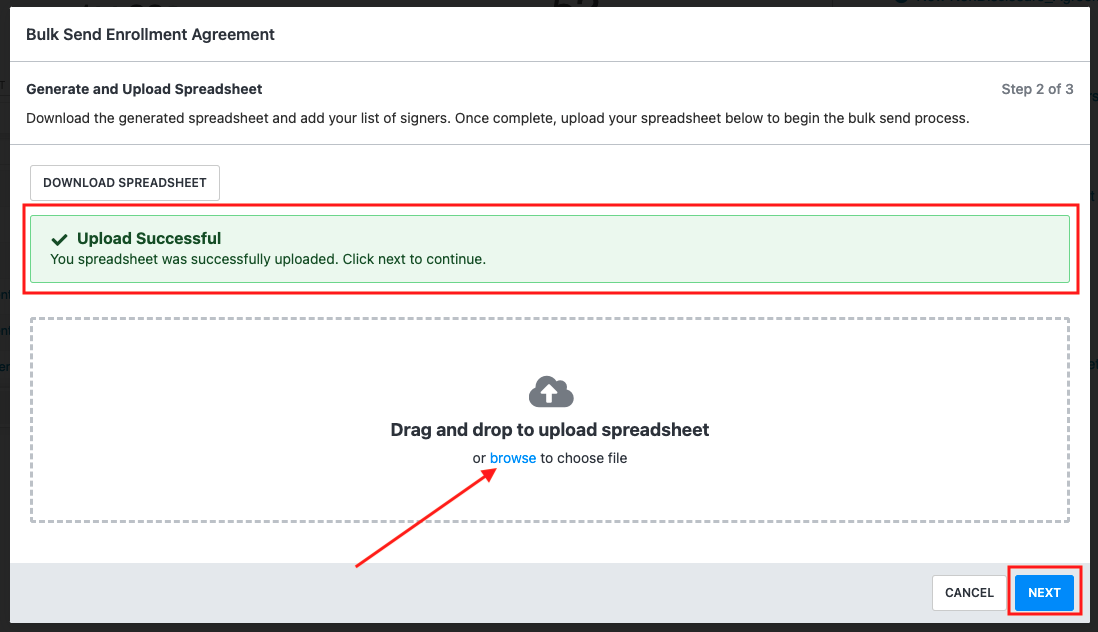
Then go back to ReadySign and upload the spreadsheet. You can do this by selecting Browse or by dragging and dropping your spreadsheet into the dashed line box.
Once you have uploaded it, a green box will appear saying "Upload Successful". You can then select Next.
If you don't receive an "Upload Successful" box you will see a red error box. Fix what is causing the error and try to upload again. Please reach out with any questions you may have about errors.
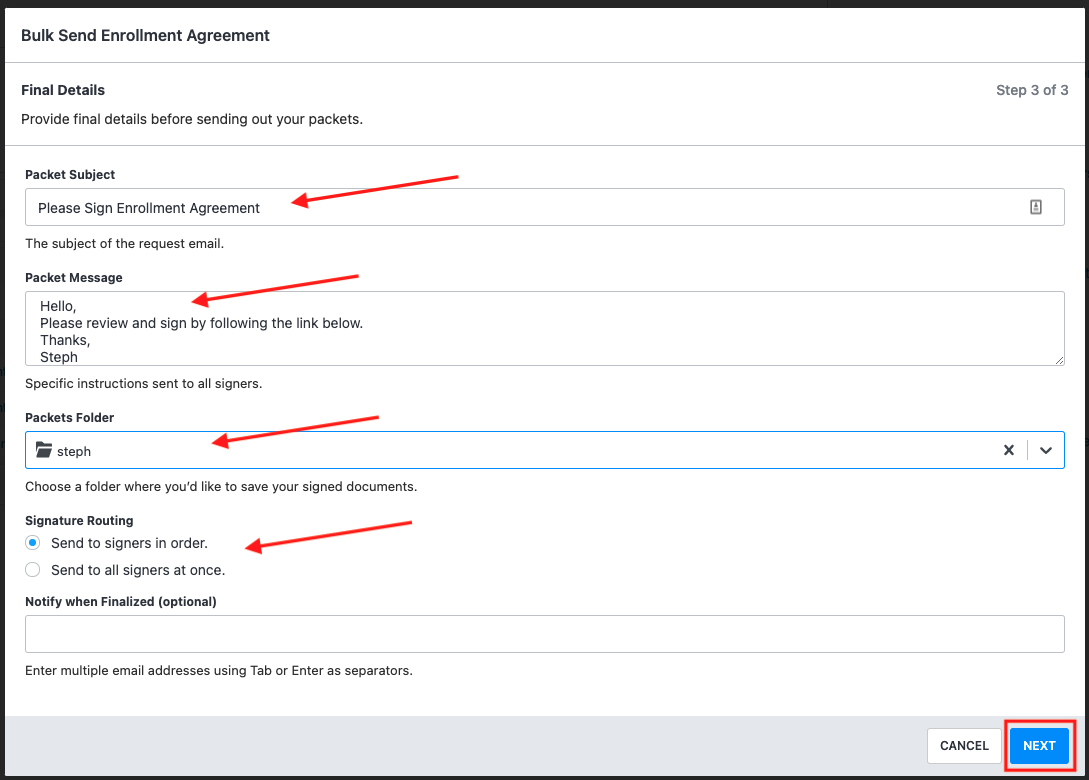
Step 6: Fill in Packet Options:
Here you can manage any of the Packet Details.
You can change the Packet Subject, Packet Message, and Signature Routing options. You will also need to select what folder of your repository you want these documents saved in. When everything is set up the way you would like, you can click Next.
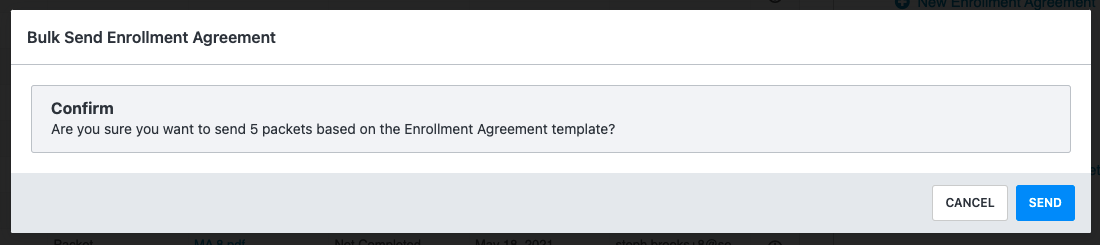
Step 7: Confirm to Send. You will see a pop up confirming the number of packets you want to send using the template you selected. If everything looks correct click Send.
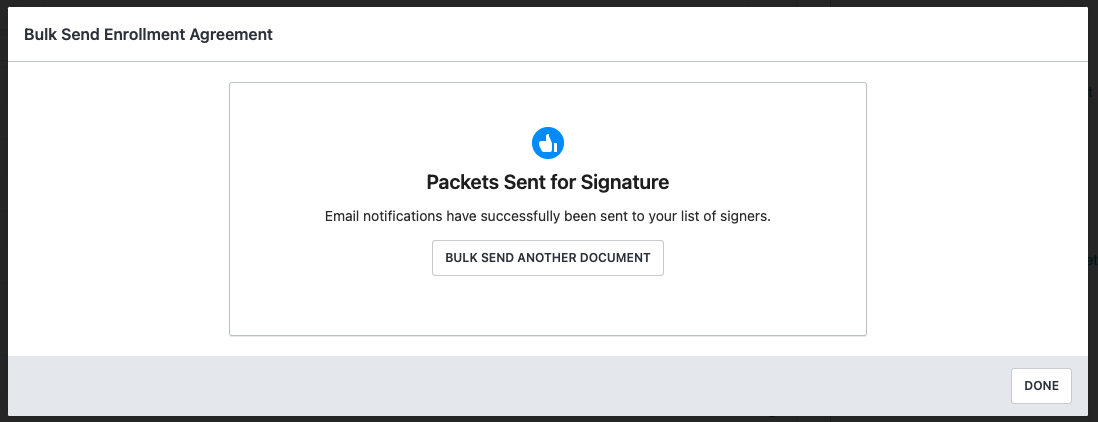
Step 8: Confirmation. You will see a confirmation box appear. You can select Done or Bulk Send Another Document.
Need additional assistance?
No-nonsense pricing. No surprises.
We believe in honest, transparent pricing. With ReadySign, you pay one fixed cost for unlimited users, unlimited documents and all of our features. Simple.
