Instructional Video:
Instructional Guide:
Step 1: Click Templates Tab and New Template Button. Name your template, and then click Create.
-gif.gif?width=600&name=ezgif-com-gif-maker%20(30)-gif.gif)
Step 2: Upload a template document or form and select Mark Up Document. This document can be used to fill in fields and add signature blanks to documents automatically.
.png?width=500&name=Untitled%20design%20(53).png) Step 3: You will see Step 1 of our Packet Builder. At this point, you will click Next.
Step 3: You will see Step 1 of our Packet Builder. At this point, you will click Next.
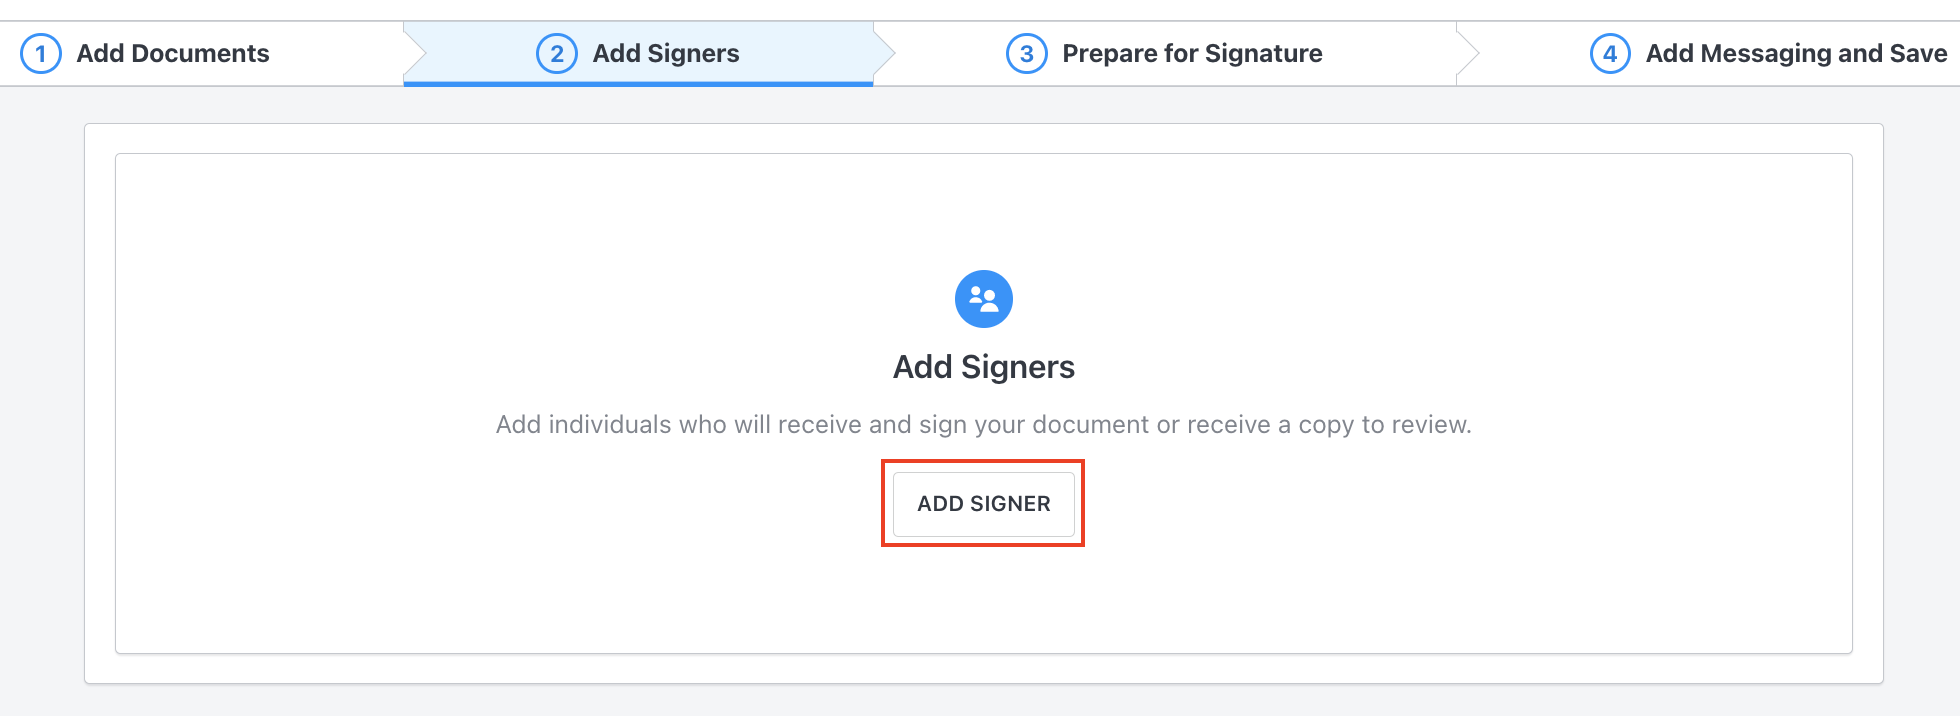
Step 4: You are now on Step 2 of our Packet Builder.
To begin select Add Signer.
This is where you can add the Nicknames and/or information of your signers. If you know the name and email address you can add those here (arrows). If they always change you can leave it blank. Then select Submit. Add as many signers as your document will need.

This step is also where you can decide to send the document to the signers In Order or All at Once. When everyone is added and route selected you should click Next.
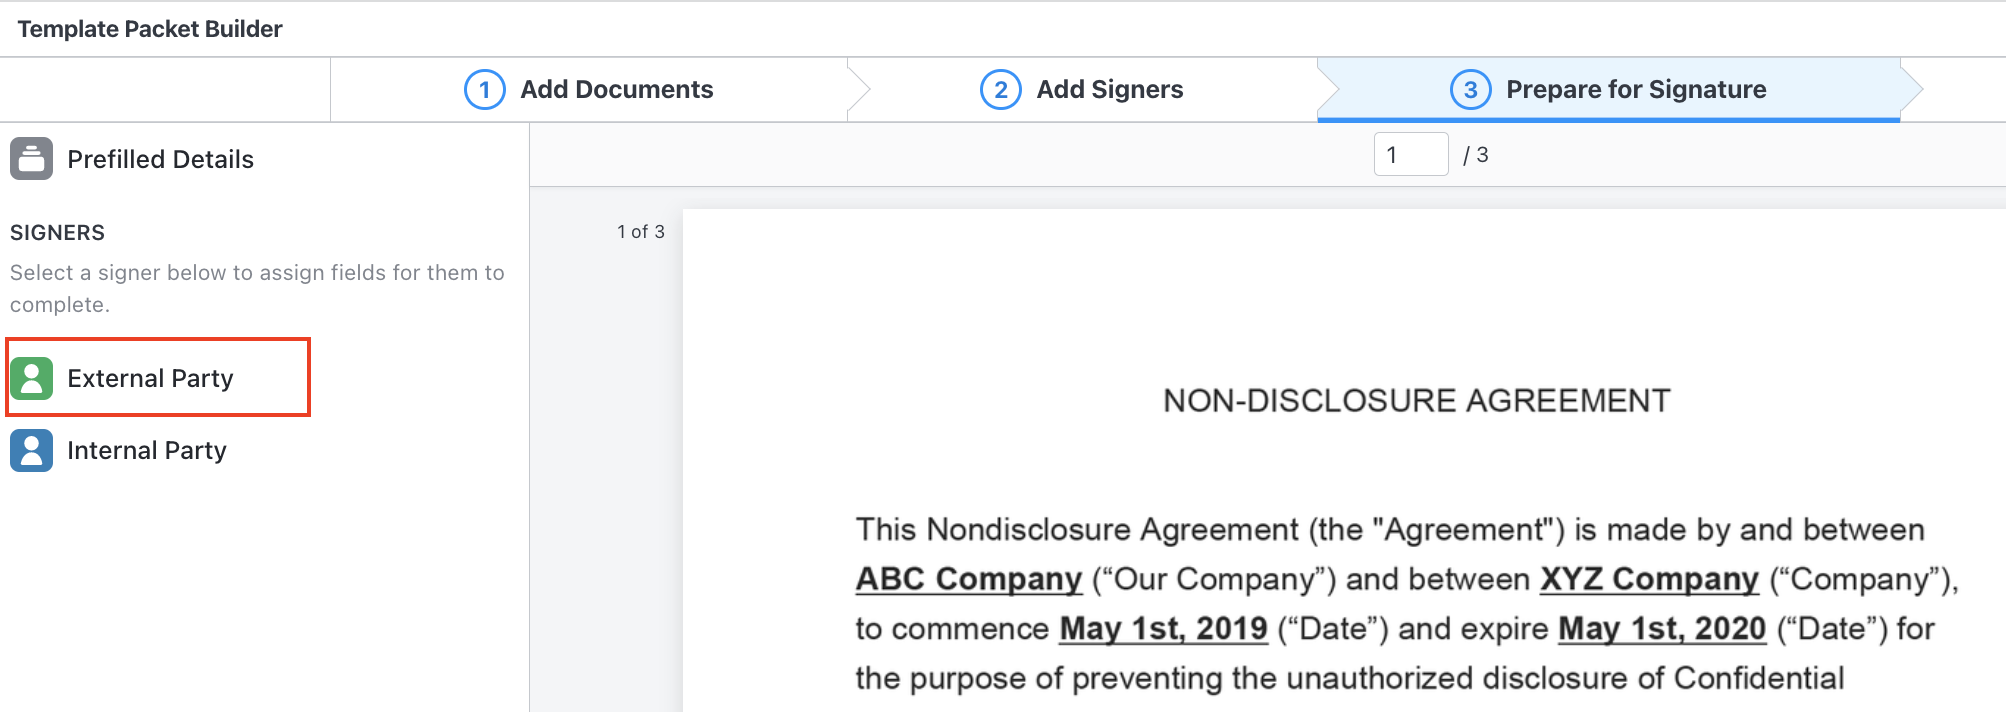
Step 5: This step has three components that you should be aware of.
1. There is the left side bar, which is where you select your signers and the fields that you want to assign to each signer.
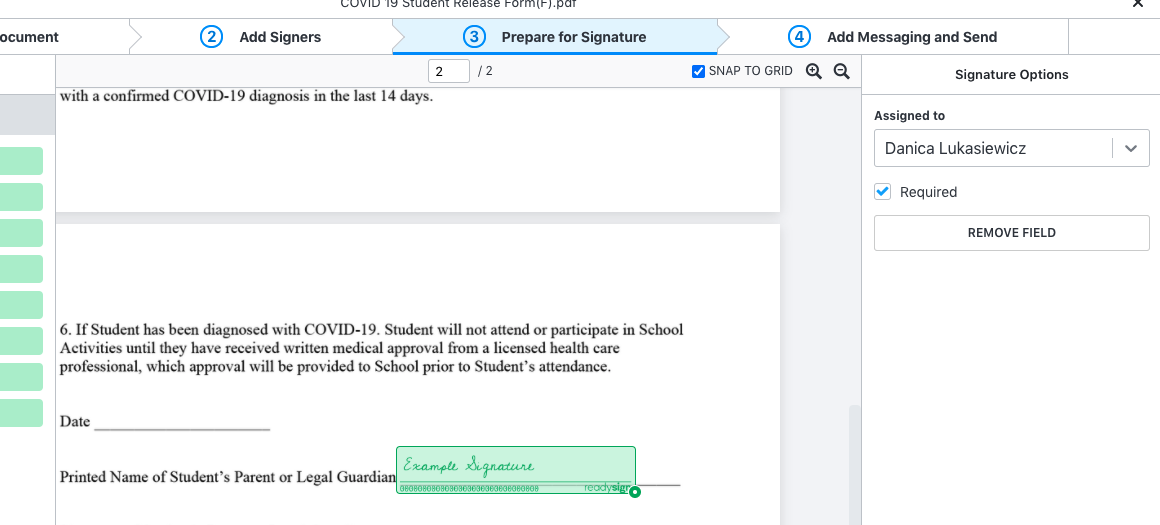
2. There is the right side bar, which depending on the field selected will show you different options for that field. For example, for a checkbox the right side bar will give you options for how many checkboxes to display and how many checkboxes are required. You'll also notice that on the right side bar you have the option to make any field optional or required.
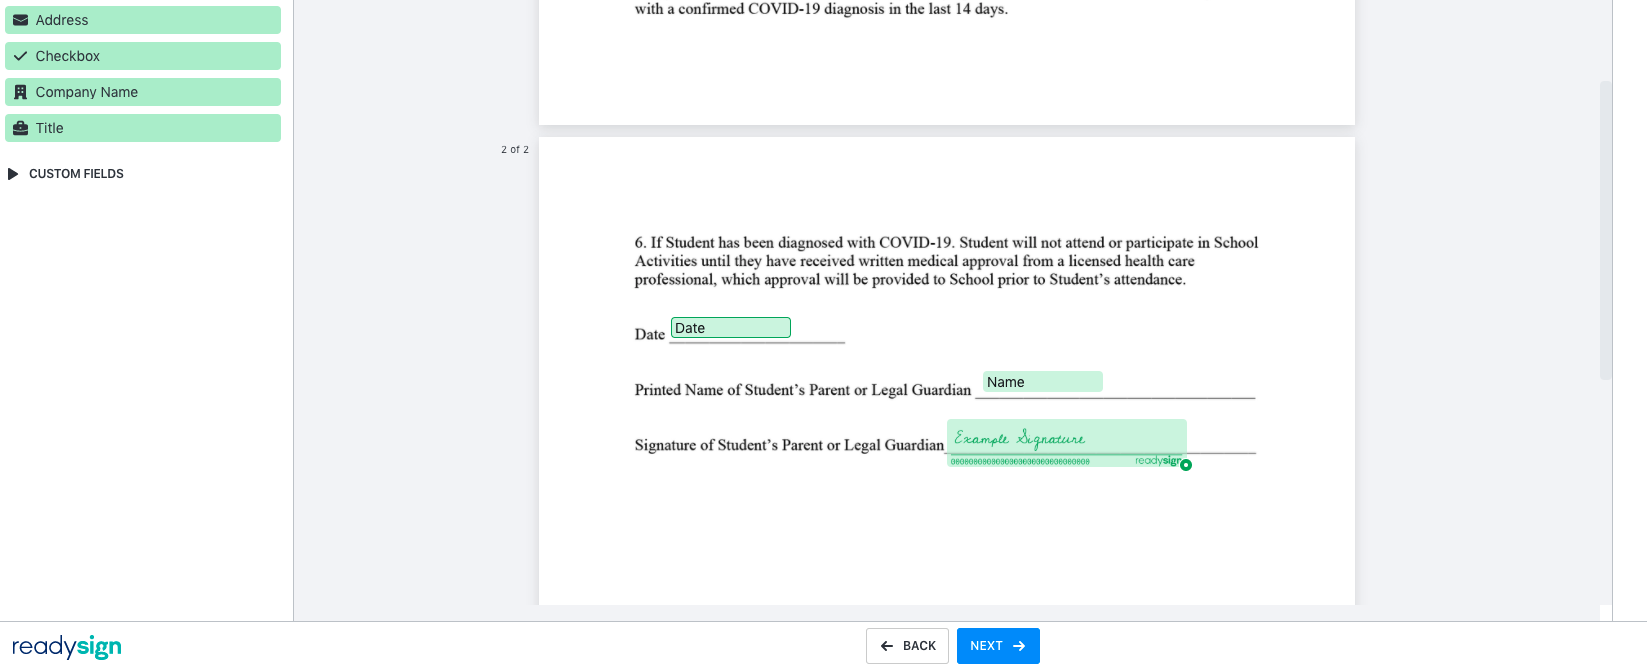
3. The third component of Step Three is the middle document viewer. You can drag and drop fields onto the document exactly where you want them, and easily navigate between pages.
To begin: Click the first signers nickname on the left.
Drag and Drop any default or custom fields that are relevant onto the document from the left side bar.
-png-1.png)
Change any applicable settings on the right side bar.
Once you are happy with your template setup you can click Next.
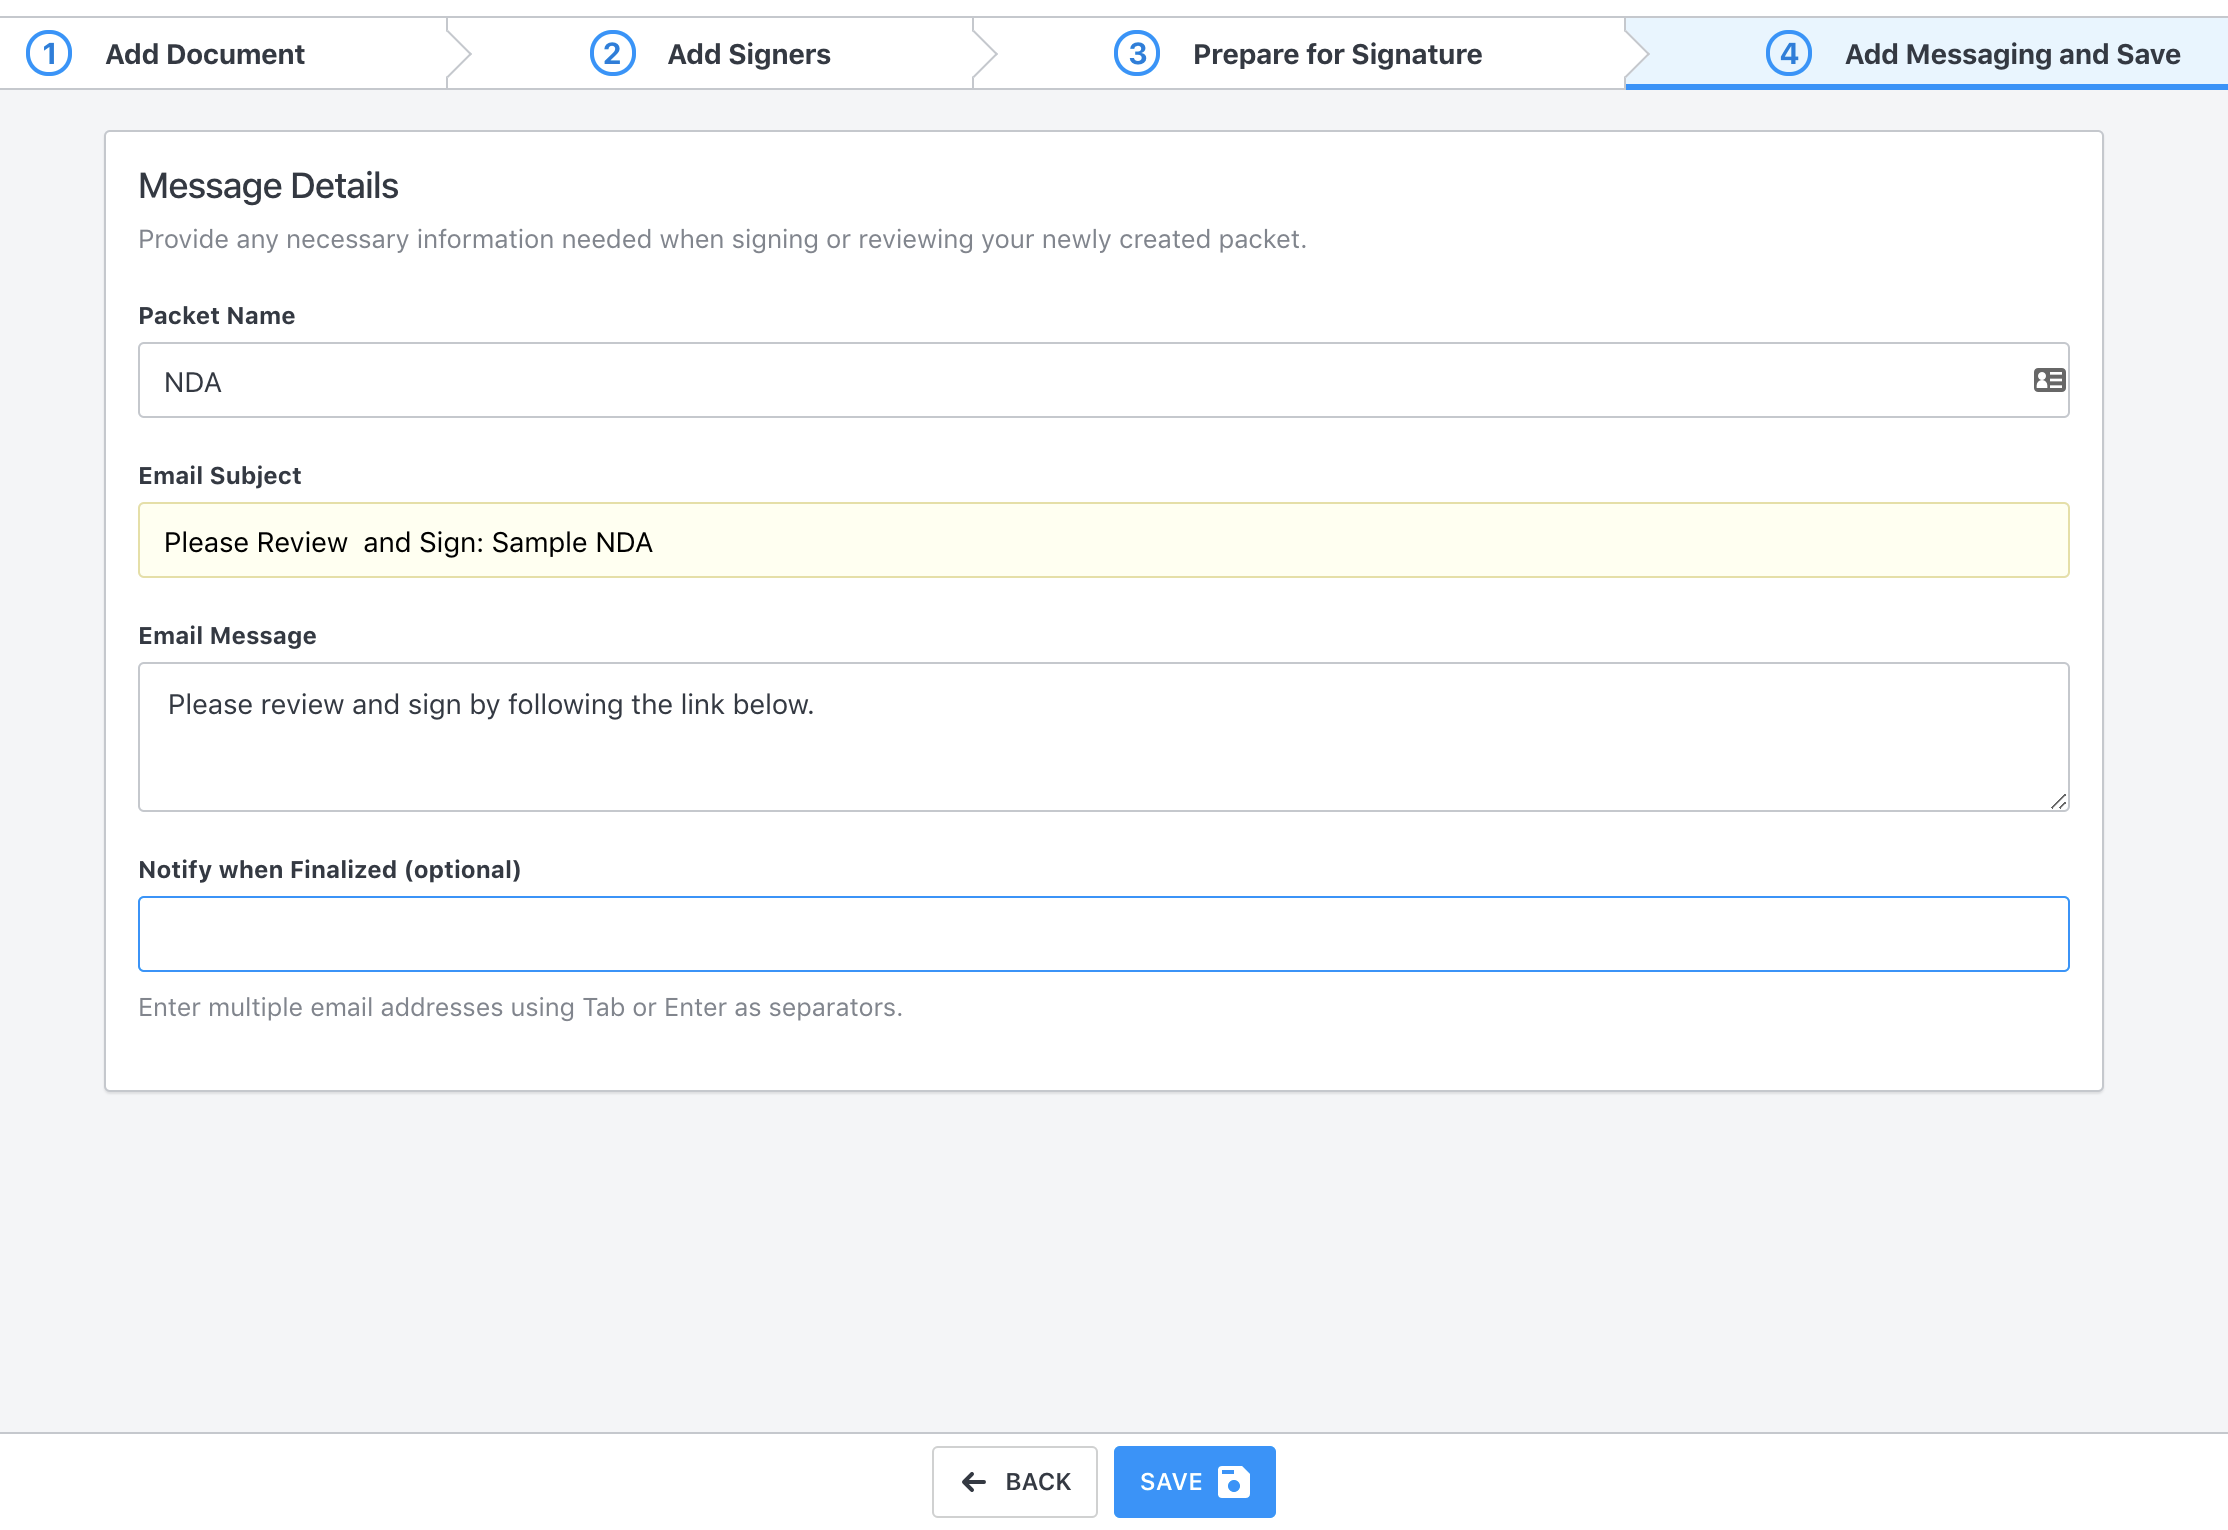
Step 6: Fill in Packet Options:
Here you can manage any of the Message Details. These are defaults and can be changed each time this document is sent for signature. When everything is set up the way you would like, click Save.
 Step 7: Your Template is Ready! To send a Template, click the Sign tab (1), click + New Packet (2), and select your template from the list. If you don't see it there you may need to Browse All Templates (3). Instructions on how to do this can be found using the help guide "Sending for Signature From a Template".

You could also click the Pen next to a document in your repository, click the Three Vertical Dots to the right of the document title, and apply the template during the signing process. Instructions on how to do this can be found using the help guide "Applying a Template To a One-Off Document".
Need additional assistance?
No-nonsense pricing. No surprises.
We believe in honest, transparent pricing. With ReadySign, you pay one fixed cost for unlimited users, unlimited documents and all of our features. Simple.
