Instructional Video:
Instructional Guide:
Managing Roles:
Step 0: Hover over the Users tab and select Roles.

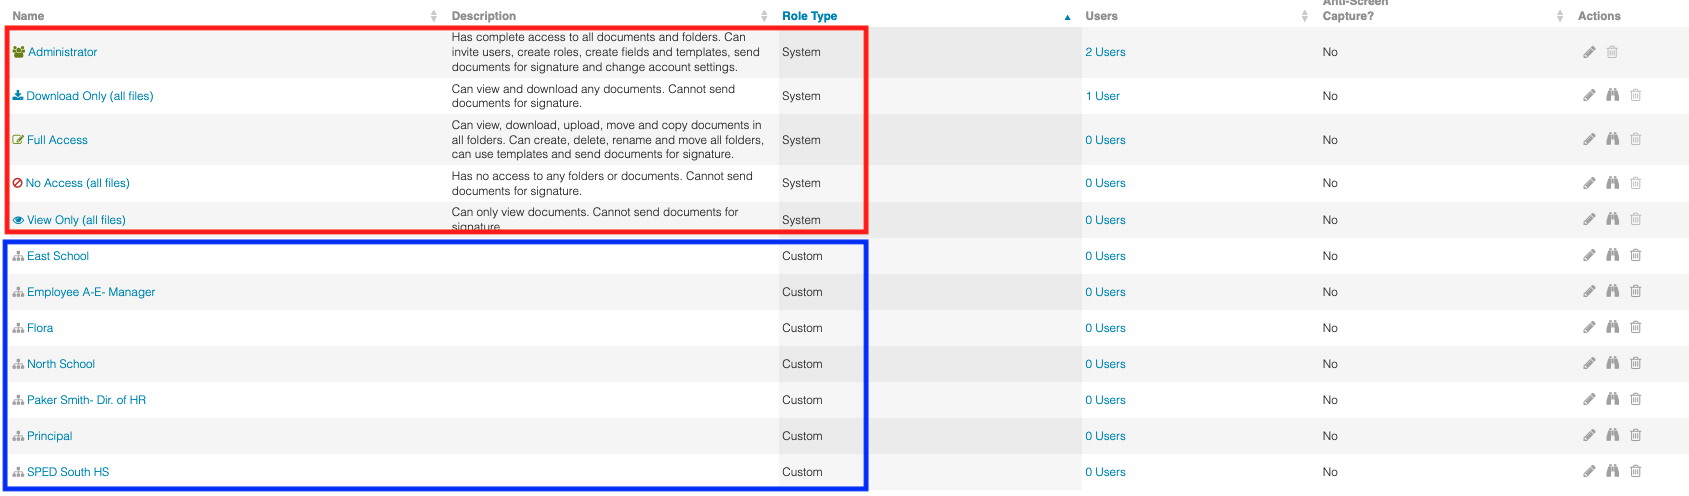
Here you will see all the Roles that are currently in your account. You have the default roles provided by the system (red box):
- Administrator- this is the administrator of ReadySign. You have this role if you can see the Users tab. This roles can do everything in the account; send and manage documents, create templates, invite users in, etc.
- Full Access- this role can see everything in the account and can do everything when it comes to documents and folders.
- Download Only- this role can see and download everything in the account when it comes to documents and folders. They can not upload or send documents for signature.
- View Only- this role can see everything in the account when it comes to documents and folders. They can not upload, download, or send documents for signature.
- No Access- a person with this role has no access to see or do anything in the account.
You will also see all the Roles that have been created custom for your account (blue box). This guide helps you learn how to create those custom roles.
Step 1: Creating a Custom Roles. To begin select New Roles in the top right portion of your screen.

Step 2: Naming Custom Role and selecting levels of access. Once you've selected New Role you will be prompted to name the role and select what access you want them to have at a folder and subfolder role. You may want to make a custom role per individual, per title/position, or even per team. Then select Save.

Step 3: Preview Custom Role. You can check that you gave the access you meant to by selecing the binoculars to the right of the custom role.

Notice that this role does not have the tabs of Users or Templates because they are not an Admin.

Step 4: Go back to your role. To go back to the roles screen so you can continue to manage roles select Switch back to my role in the red bar across the top of the screen.
Managing Users:
Step 0: Hover over the Users tab and select Users.

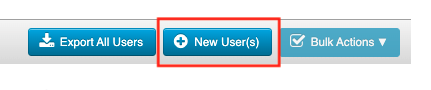
Step 1: Inviting a New User into your account. To begin select New User(s) in the top right portion of your screen.
Step 2: Add User info and select settings. You will need to add:
- Name- this will become their signature so make sure you put their name correctly.
- Role- you will select the default or custom role that you want this individual to have.
- New Document Notification- this is how often the individual gets a summary email of all of the documents that have been put into the folders they have access to.
- Message to Users- this is an area where you can add more custom information to the invitation email that goes to your client
Select Invite at the bottom of the pop up. You may have to scroll down a little.

Step 3: Inviting Multiple Users into your account. You can invite multiple users in at the same time by selecting Multiple Users and downloading and filling out the spreadsheet. Then Upload the same spreadsheet, add any message to users, and select Submit.

Step 4: Deleting Users out of your account. To delete a user out of your account select the trash can to the right of the users information.
