Instructional Video:
Instructional Guide:
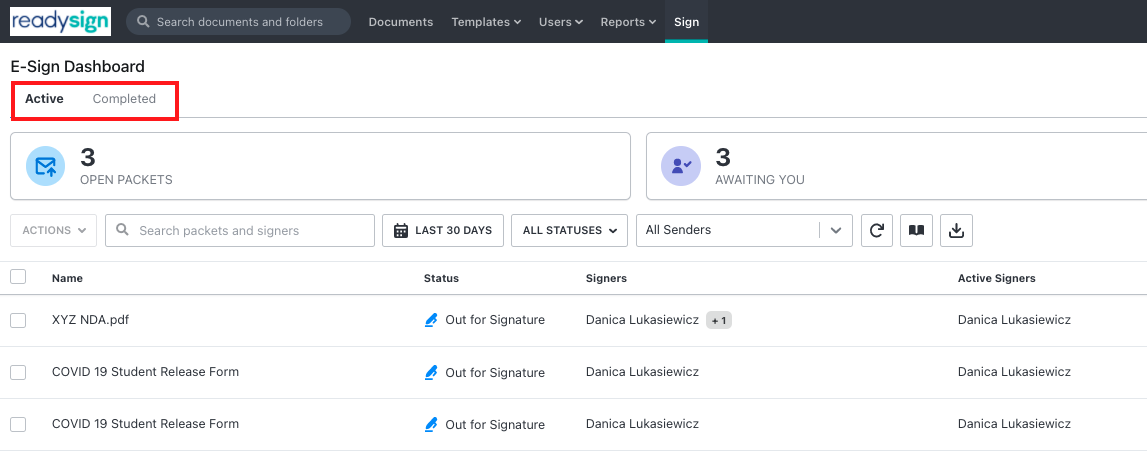
Step 1: Sign Tab- Go to the Sign tab to view the dashboard. If you are an admin you will be able to see and search all the packets in the account. If you are not an admin you will only be able to see and search the packets that you have sent out.

Step 2: Chose Status- Toggle between Active & Completed to see active packets versus all finalized e-sign packets.
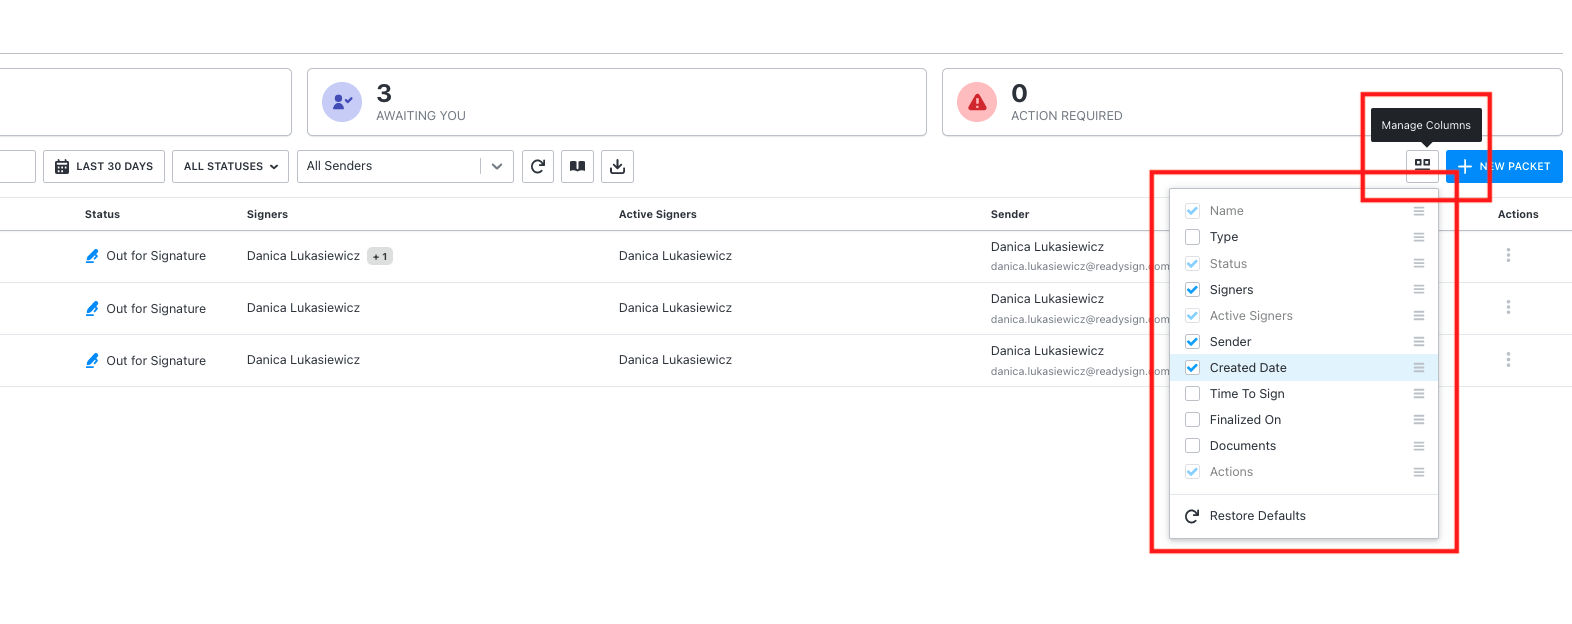
Step 3: Customize Columns- Add Columns to your dashboard to add additional pieces of information such as Created Date and Finalized Date.
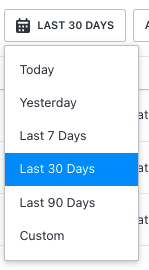
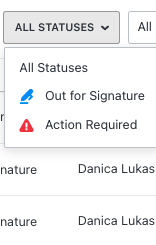
Step 5: Filter your Results- Filter your dashboard view by Name, Time Frame, Packet Status and/or by the specific Senders.

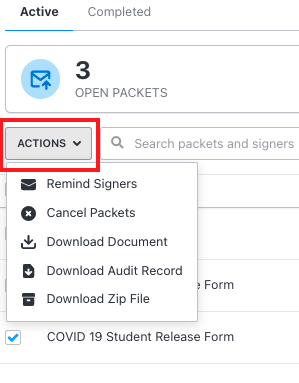
Step 6: Export Packet Details to XLSX- You can download the information on the dashboard by selecting some or all of the packets and selecting Export To XLSX.


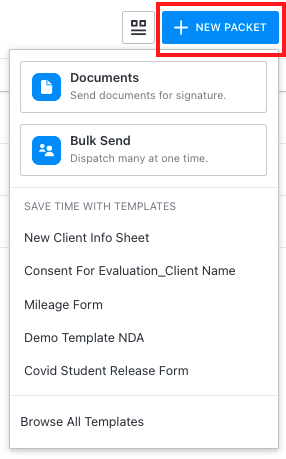
Step 7: Create a New Packet- Initiate new packet(s) by using a Document or a Template. By clicking any of the options in the New Packet dropdown, it will take you directly to our e-signature packet builder. To get help with this process please check out any of the help guides such as "Sending for Signature From a Template".