Instructional Video:
Instructional Guide:
Step 0: Sign into ReadySign. Find or upload the document you want to send for signature. If you need help with this check out the Help Resource "Uploading Documents and Folders". Click the pen icon to the left of the document name to begin.

Step 1: You can see the document you selected here. You can click the three vertical dots to the far right under Actions to apply a template. If you’re unsure if your company is using templates or not contact your ReadySign admin.
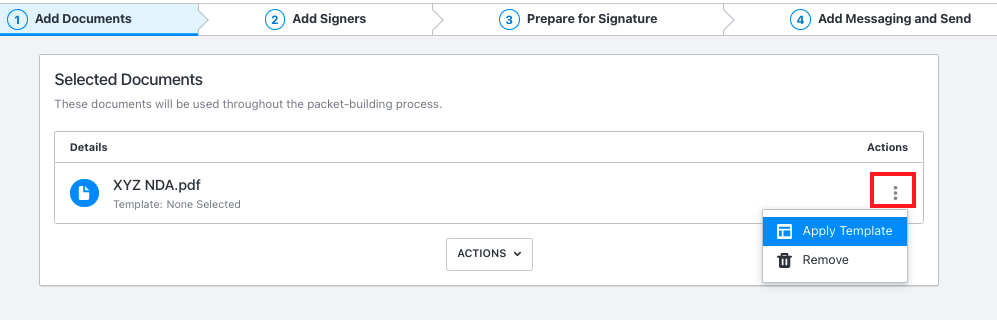
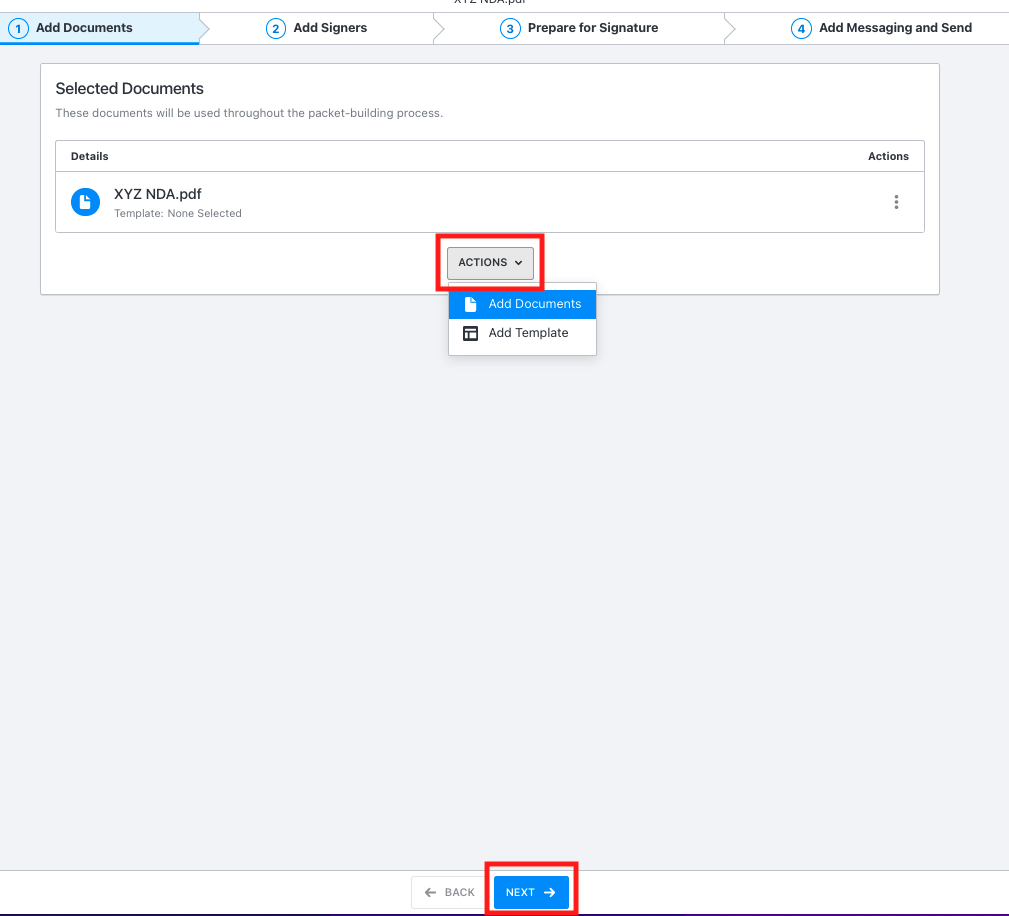
You can also select Actions in the middle of the screen to add other documents or templates. If you are happy with your choice of document and, if applicable, the template, you can proceed to Step Two by clicking Next at the bottom of the screen.
Step 2:
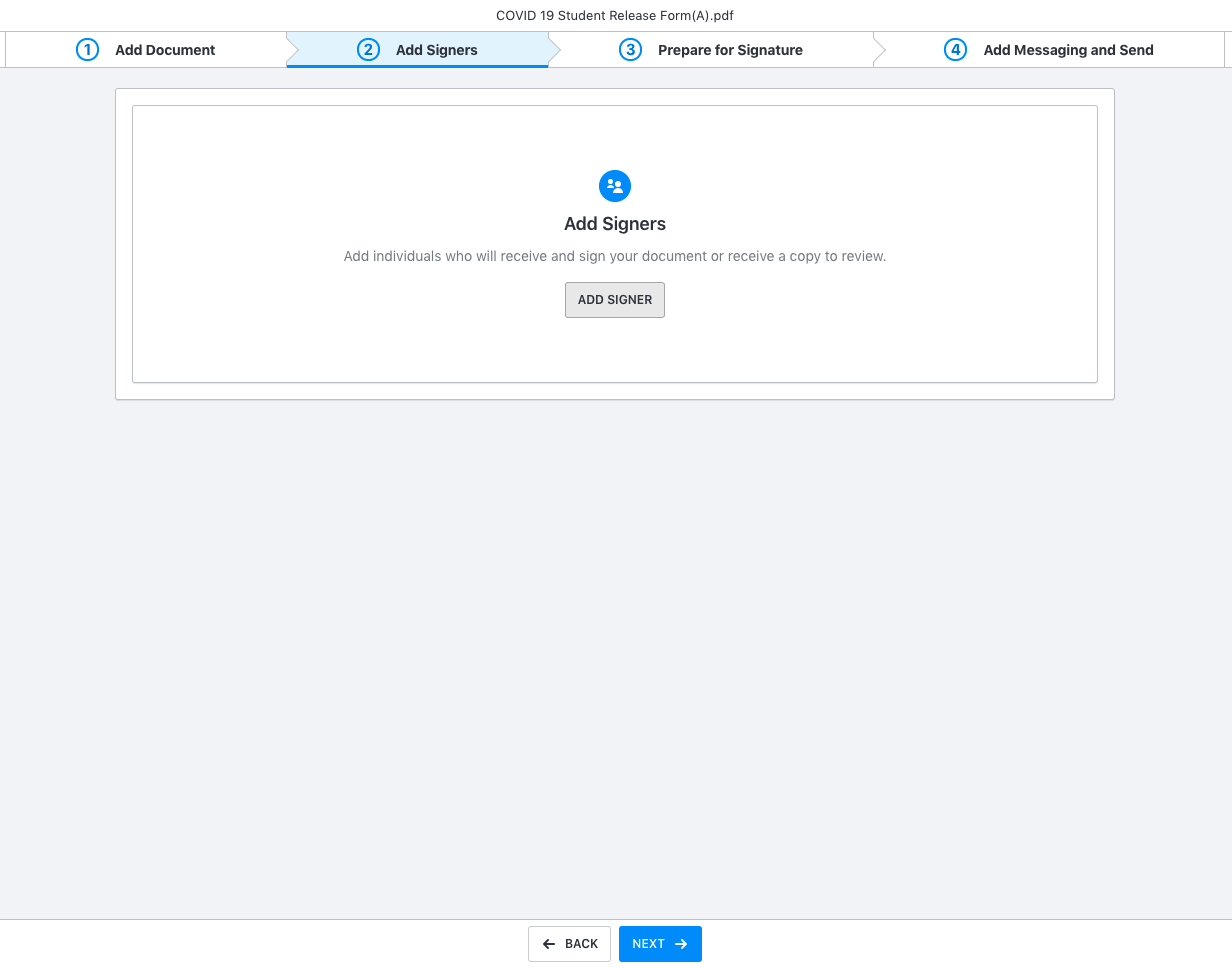
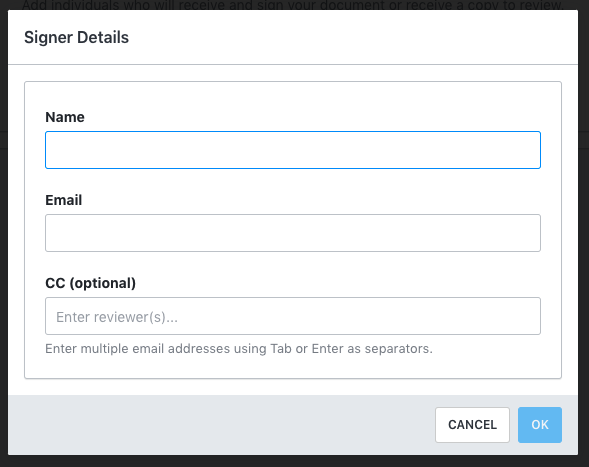
You’ll see the Add Signers page. Click Add Signer and fill out the Signer Details appropriately.
This step is now where you can decide to send signers In Order or All at Once. When everyone is added and route selected you should click Next.

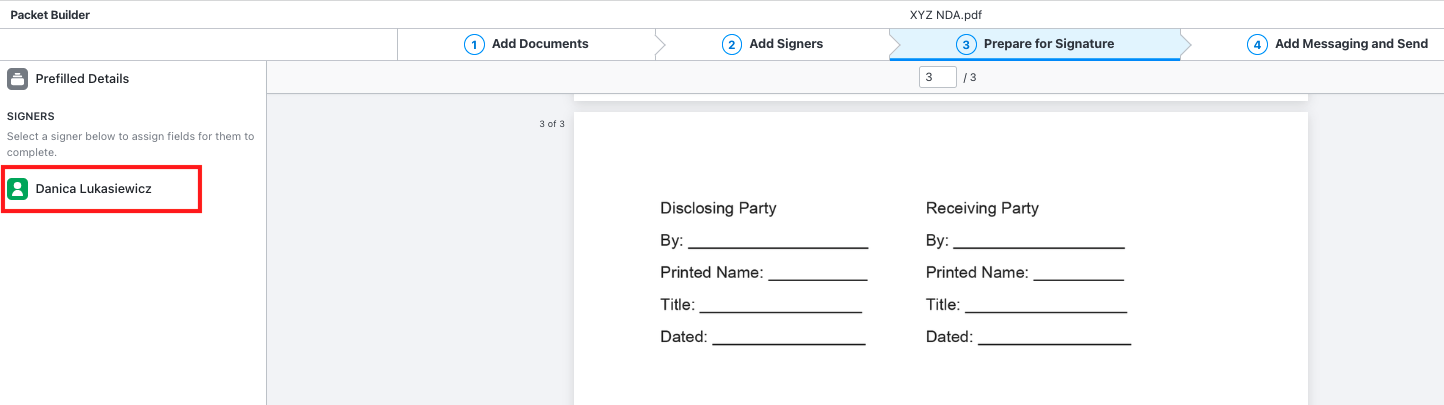
Step 3:
This step has three components that you should be aware of.
1) There is the left side bar, which is where you select your signers and the fields that you want to assign to each signer.
2) There is the right side bar, which depending on the field selected will show you different options for that field. For example, for a checkbox, the right side bar will give you options for how many checkboxes to display and how many checkboxes are required. You'll also notice that on the right side bar you have the option to make any field optional or required.
3) The third component of Step Three is the middle document viewer. You can drag and drop fields onto the document exactly where you want them, and easily navigate between pages.
To begin: Click the first signers name on the left.
Drag and Drop any default or custom fields that are relevant onto the document from the left side bar.
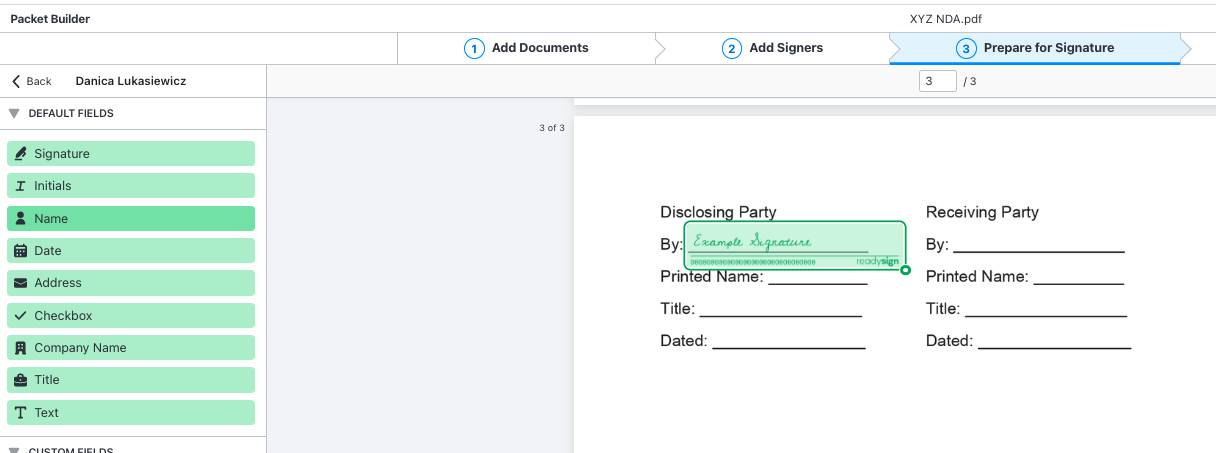
Change any applicable settings on the right side bar. Once you are happy with your document setup you can click Next.

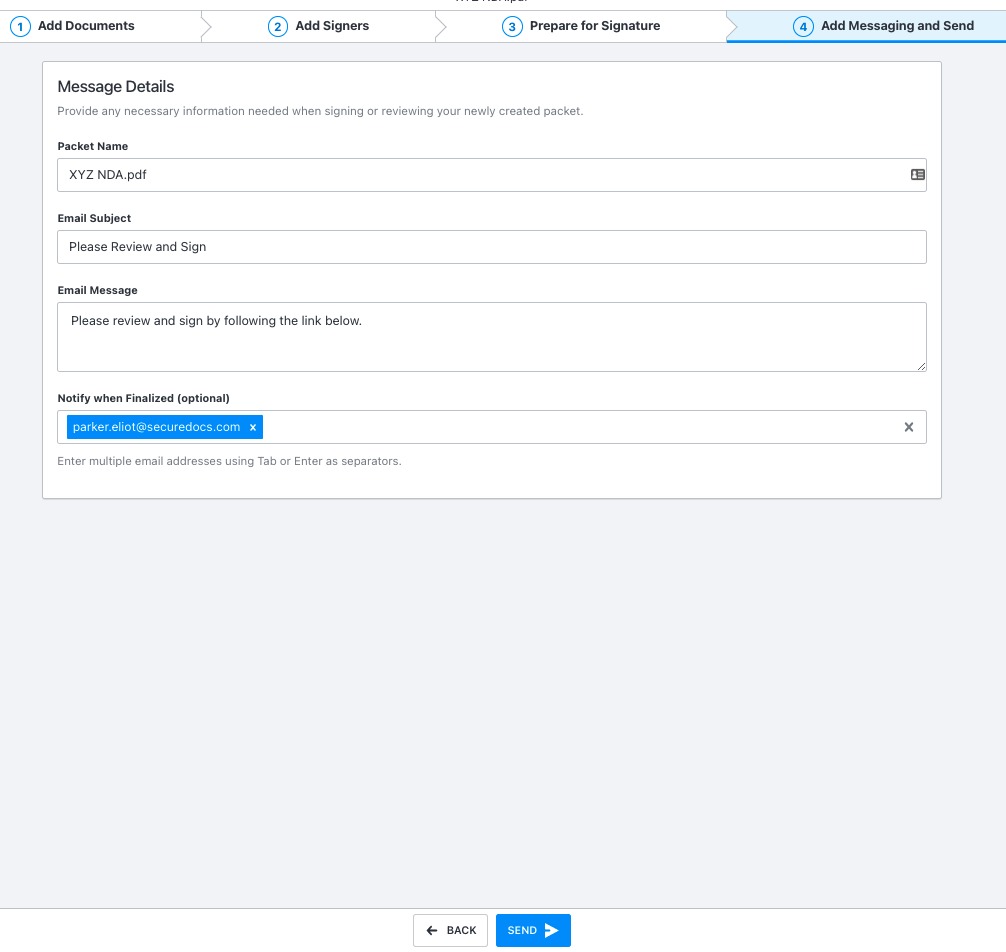
Step 4:
Here you can manage any of the Message Details. Then, click Send and your packet will send to your signers immediately for signature, in the order you specified in Step Two. You'll then be taken to the audit trail for your document.
Need additional assistance?